The Real Mechanics of Online Casino Games and Sports Betting
You click 'spin', the reels blur, and for a second you're convinced the machine is deciding your fate in...

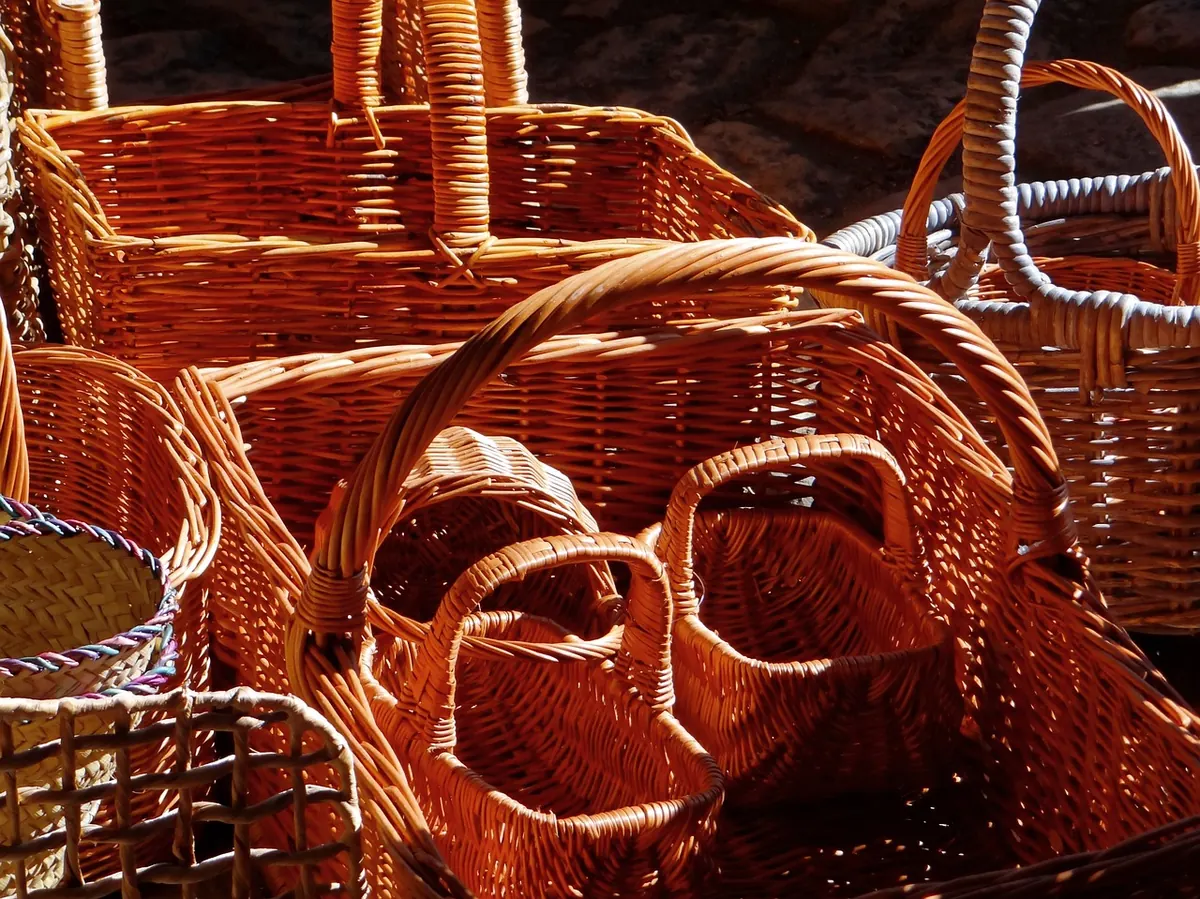
A round willow basket is one of the most satisfying things you can make with your hands. It carries kindling, vegetables, eggs, blackberries and laundry, and it asks for very little: a bundle of rods, a sharp knife and a few hours. Your first one will be lopsided. The sides will lean and the base will dome. That is normal, and it is fixable. Learn the order of work — base, upsetting, sides, border — and every basket after this one comes up rounder, tighter and quicker.
You need rods that are supple, long and roughly consistent in thickness. Brown willow, with the bark still on, is the traditional choice and the cheapest if you buy in bulk or grow your own. It needs a long soak, often a week in cold water, and it makes a chunky, rustic basket. Buff willow has been stripped and boiled; it soaks in a few hours, works easily and gives a smooth, pale finish. For a first basket, buff is the kindest option.
Size matters as much as type. For a basket about 25cm (10in) across, look for rods of 90cm to 1.2m (3–4ft). Save the thicker, stiffer rods for the base and stakes, and keep the finer, more flexible ones for weaving. Sally rods (Salix triandra) are excellent weavers, as are many of the common basket willows.
Dry willow snaps, so it must be soaked and then mellowed. Weigh the bundle down under water until the rods bend easily, then drain them and wrap the bundle in a damp cloth or old towel for a few hours or overnight. The rods should bend like a leather bootlace without cracking. If they still feel stiff, give them more time. Willow that is too wet works like rope and slackens as it dries. Keep a bucket of water beside you and stand spare rods in it while you work.
Sit or stand so the basket sits directly in front of you at about waist height. A board across your lap works well. Turn the basket as you weave instead of reaching around it.
The base starts with a slath: a cross of rods that becomes the skeleton of the basket. Those rods are the stakes.
Now the stakes have to turn from horizontal to vertical. This is the upsett, and it decides whether your basket stands up straight or sits like a flan.
Take each stake in turn and bend it sharply upwards close to the last row of weaving, so it kinks rather than curves. Then push a second rod down into the edge of the base alongside each stake. These doubled stakes give the sides their strength.
To hold everything steady, work two or three rounds of three-rod wale around the base. Pull each round tight and tap it down with the rapping iron as you go.
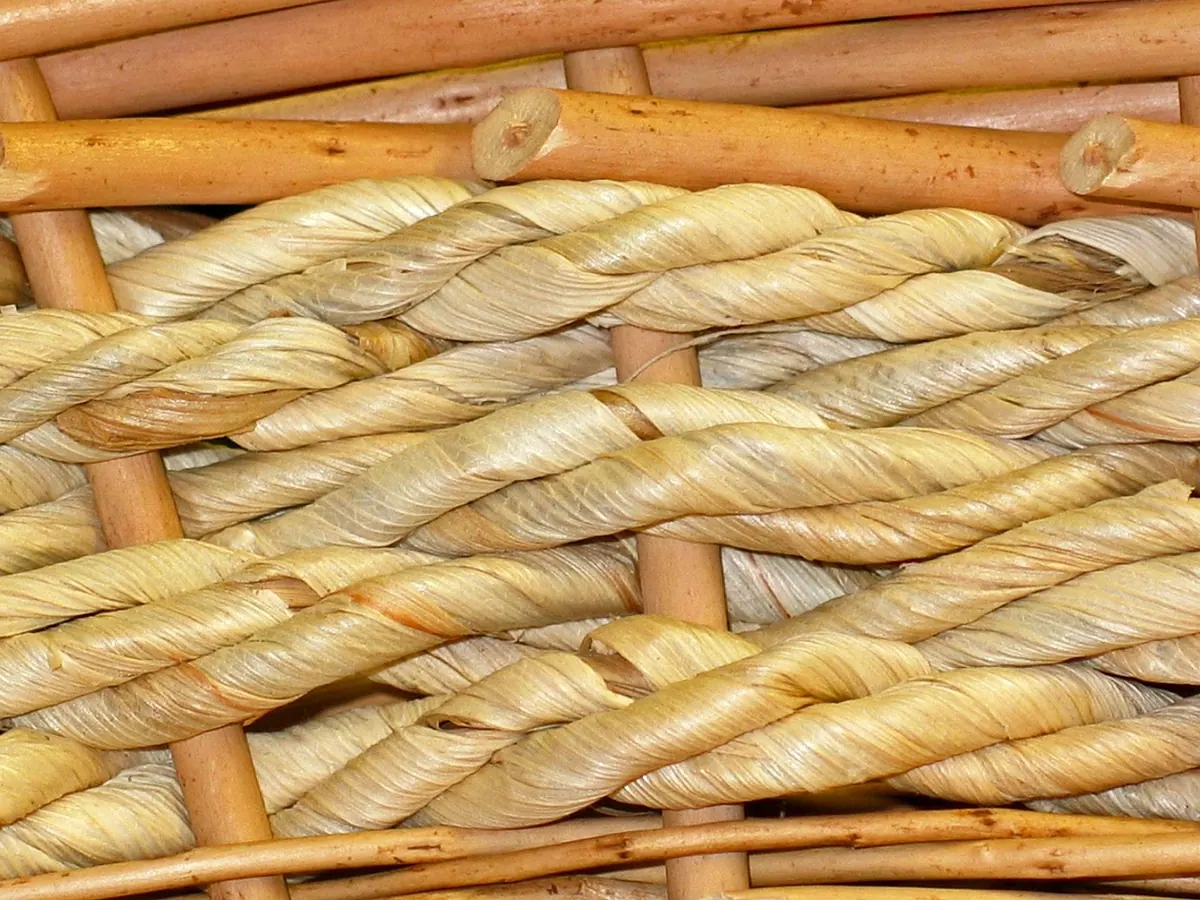
Waling is the tight, rope-like band you have just used. Three rods weave together, each passing in front of two stakes and behind one. It is slower than randing but far stronger, so use it at the foot of the basket, at the rim, and anywhere you want a firm band of colour.
Randing is the everyday weave and the one that builds most of the basket. One rod at a time goes behind one stake and in front of the next, all the way round. When a rod runs out, finish it on the inside and start the new one in the same place, tucking the ends down among the stakes.
Keep pushing the weave down and the stakes upright as you work, and let the basket flare outwards slightly for the first few inches. A straight-sided basket is far harder to keep tidy than one that widens just a little. When you reach the height you want, finish with two or three rows of waling to make a firm edge for the border.
Trim the stakes to about 10cm (4in) and bevel the ends with your knife so they slide easily into the weave. Then work a border, which locks the whole basket together and stops it springing apart.
The standard finish is the three-rod border. Lay three rods behind three consecutive stakes, then take the leftmost rod, pass it in front of two stakes and behind the third, and bring it out. Follow the same rod round, always taking the leftmost, until you meet the start, then tuck the ends down inside the basket. A simple trac border, worked with one rod at a time, is easier if you are short of time or working with short rods.
Leave the basket to dry somewhere airy and out of direct sun for a few days. If you want a handle, keep it simple for basket one: two matched rods bent over the basket and lashed to the rim with thin willow.
Expect a slightly domed base, one side taller than the other, and a few gaps where the weave is loose. None of it matters. Note what you did, then change one thing next time: thinner weavers for randing, more frequent tapping down, or a wider base so the basket sits more steadily.
Willow is forgiving. Almost every mistake can be undone with damp hands and patience, and the second basket is always better than the first. Keep the first one — in a year's time it will tell you exactly how far you have come.
Photo: KRiemer / Pixabay
You click 'spin', the reels blur, and for a second you're convinced the machine is deciding your fate in...
A tour of Britain's willow-growing heartlands, from the Somerset Levels to Cumbria and the Scottish coast,...
Ten willow weaving projects for balconies and small gardens, from plant supports and herb baskets to bird...