The Real Mechanics of Online Casino Games and Sports Betting
You click 'spin', the reels blur, and for a second you're convinced the machine is deciding your fate in...

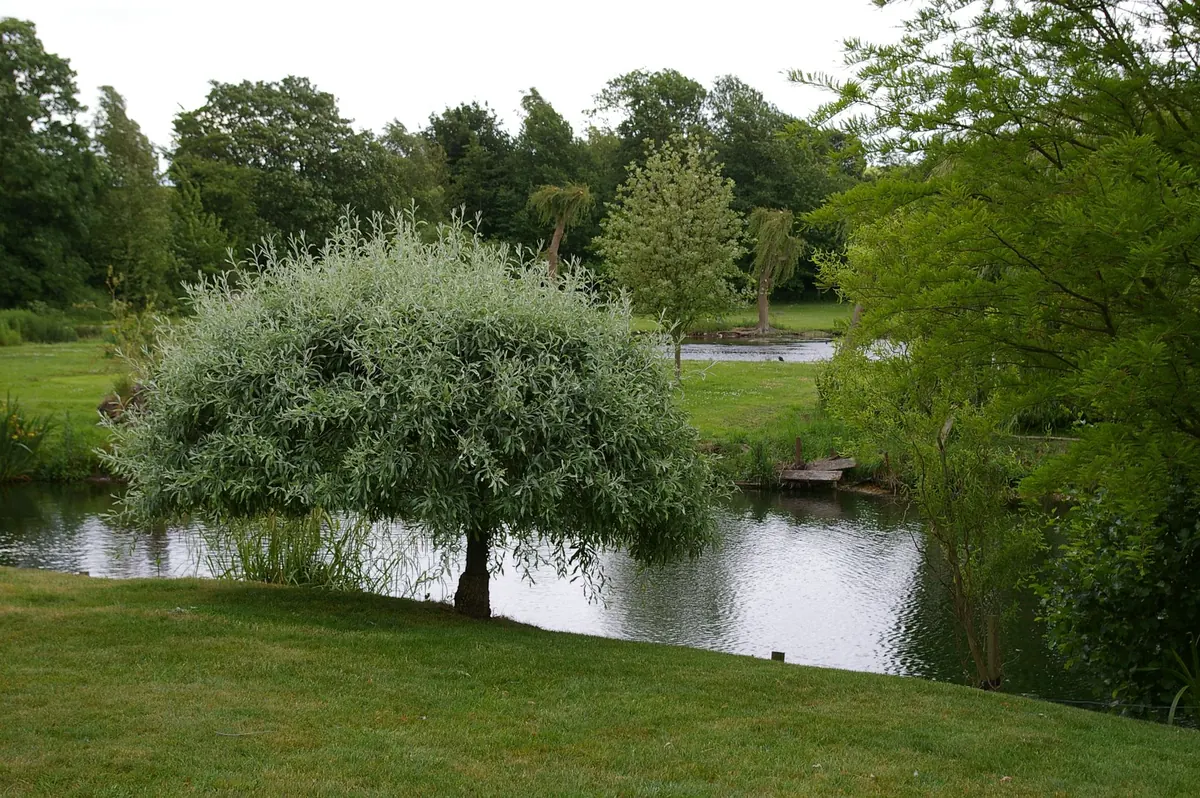
Few garden structures earn their keep quite like a willow obelisk. It costs a fraction of a shop-bought metal frame, it looks better as it weathers, and it does one straightforward job well: giving climbing beans and sweet peas something to grip as they head upwards. Make one in an afternoon, and you will still be using it in three summers' time.
There are two ways to go about this, and both work. Fresh green willow is cut in winter and kept damp; it bends like wire and needs no preparation at all. Dried brown willow is cheaper in bundles and far easier to store, but it must be soaked first — a week or more, completely submerged in a water butt or a length of guttering, weighed down with a brick. The test is simple: bend a rod into a circle. If it snaps, put it back in the water.
For a finished obelisk around 1.8m tall, use rods of roughly 2.4m. That extra length is what allows you to cross and bind the tops while still leaving three legs standing on the ground. The uprights should be the thickest rods in the bundle, pencil thickness or a little more. Weaving rods want to be slimmer and whippier — thin enough to turn a corner without cracking.
Any long, straight, unbranched willow will do the job. Common weaving willows such as Salix viminalis and almond willow are grown for exactly this purpose, but if you know someone with a willow or a hedge that needs cutting back, ask for their straightest growth. Avoid anything brittle or crowded with side shoots; you will spend more time trimming than weaving. As a rough guide, a 1.8m obelisk takes three or four substantial uprights and somewhere between thirty and fifty thin rods, so buy a little more than you think you need. Offcuts always find a use.
This is the part that decides whether your obelisk stands up to a windy June. Take your time over it.
Once the tripod is solid, the weaving is quick, repetitive and rather soothing. Work from the bottom upwards.
Take a thin rod and weave it in and out of the uprights — over one, behind the next, over the next — until you meet your starting point again. Carry on for a second turn, then tuck the end down behind a rod and press it flat. To join a new rod, lay it alongside the old one in the same direction, weave both together for a few inches, then drop the finished end. Those tucked tails will all but disappear as the willow dries and shrinks.
Space rings about 20–25cm apart near the base, closing to 15cm or so towards the top, where the obelisk narrows and the plants need more to hold on to. Alternate direction as you go — one ring clockwise, the next anticlockwise — so the frame stays balanced instead of twisting to one side. After each ring, push it down slightly to tighten it against the uprights.
For a more traditional look, weave with two rods at once: hold them side by side and pass one in front of each upright and one behind, twisting the pair round each other once before the next upright. It takes a few minutes to find the rhythm, after which it is faster than single-rod weaving and gives a stronger, denser finish. Worth the effort on an obelisk that sits near the house; single weaving is perfectly adequate for a row of bean supports at the far end of the plot.
Weave three or four tighter rings just below where the rods cross, then bring the loose tops together and bind them — a few turns of twine, or a couple of thin rods woven round the junction and tucked in. Snip the tips roughly level. A slightly ragged, hand-made top looks better than an over-tidy one. Finally, run your hand up the whole structure and press down anything sticking out; sharp ends catch on tendrils and on sleeves.
Position it before you plant anything. Once plants are growing through the frame, moving it means damage to both. Runner beans and climbing French beans will manage three or four plants around the base, one at each leg, in soil enriched with compost and watered steadily through dry spells. Sweet peas are even easier — sow three or four and let the tendrils do the rest. The slightly rough surface of willow gives them something to grip early on, which matters more than it sounds.
A smaller obelisk in a big patio pot works well for annual climbers, and a few nasturtiums or a compact cucumber will cover one happily. If you built with fresh willow, some rods may push out leaves. Rub them off while they are small. It does the frame no harm, but it looks tidier.
A dried willow obelisk will last two or three seasons outdoors. The weak point is always where the rods meet the ground, because damp soil rots them from the bottom up. If you can, lift yours in late autumn, shake off the soil and store it somewhere dry until spring. A few months under cover adds years to its life.
Left out all winter, the willow will grey and weather, and the base will eventually give way. That is not a disaster. Cut the spent rods down for kindling, keep the sound rings for smaller projects, or simply push a few fresh rods in to replace the rotted legs.
Living willow is the other option: build with fresh rods in late winter and push the legs straight into damp ground. They will root and grow, giving you a green structure that thickens each year. Keep the new growth cut back to a few shoots, though — a fully leafy willow will shade your beans and catch the wind quite badly.
Build in winter or early spring, when willow is cut and before you need to plant. An afternoon's
Photo: Neville Hawkins / Pexels
You click 'spin', the reels blur, and for a second you're convinced the machine is deciding your fate in...
A tour of Britain's willow-growing heartlands, from the Somerset Levels to Cumbria and the Scottish coast,...
Ten willow weaving projects for balconies and small gardens, from plant supports and herb baskets to bird...